
Our prize winning AWS Hackathon entry
explaining the project that won runner up Computer Vision award.
This is a project to demonstrate the ability to integrate useful Deep learning algorithms into manufacturing lines. In this project I’m demonstrating a system using TensorFlow and a raspberry pi-4.
You can check out the complete code and repository here.
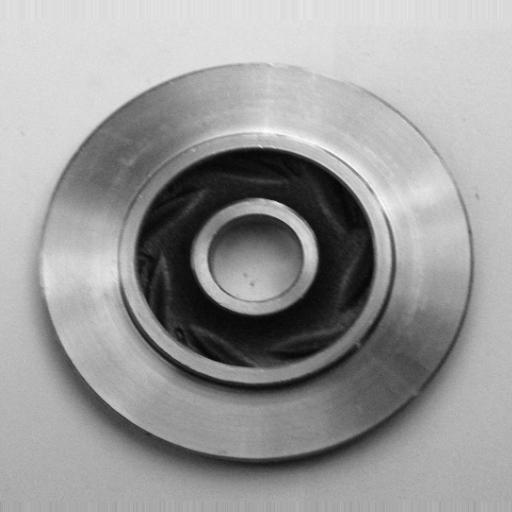
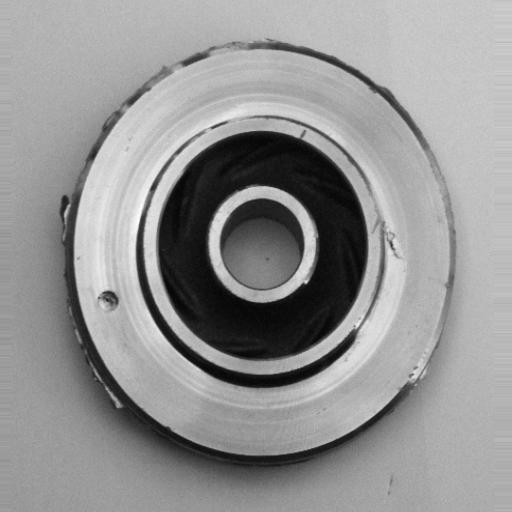
We have a data-set of cast iron parts along with parts that are damaged.
The dataset consists of:
The camera module of the raspberry pi-4 expects an input image of (300x300) pixels for accurate results its better to train a model for the same inputs.
The dataset that I’m using has this file structure
Casting Data
│
└───train
│	└───ok_front
│   │	└───cast_ok_0_0.jpeg
│   │   └───cast_ok_0_1.jpeg
│       └───.....
│	└───def_front
│   │	└───cast_def_0_0.jpeg
│   │   └───cast_def_0_1.jpeg
│       └───.....
└───test
 	└───ok_front
    │	└───cast_ok_0_3.jpeg
    │   └───cast_ok_0_4.jpeg
        └───.....
 	└───def_front
    │	└───cast_def_0_3.jpeg
    │   └───cast_def_0_4.jpeg
        └───.....
Please contact me if you want access to this dataset. It contains almost 10,000 training samples enough to train a decent ANN.
We need to setup a data generator to input the data into the artificial neural network at the time of training. This is required as our RAM cannot load all the images at the same time.
from tensorflow.keras.preprocessing.image import ImageDataGenerator

# Set the seed
tf.random.set_seed(42)

# Preprocess data (get all of the pixel values between 1 and 0, also called scaling/normalization)
train_datagen = ImageDataGenerator(rescale=1./255)
valid_datagen = ImageDataGenerator(rescale=1./255)
# Setup the train and test directories
train_dir = "train/"
test_dir = "test/"
# Import data from directories and turn it into batches
train_data = train_datagen.flow_from_directory(train_dir,                                               batch_size=32,                                                target_size=(300, 300),                                                class_mode="binary",
valid_data = valid_datagen.flow_from_directory(test_dir,                                              batch_size=32,                                              target_size=(300, 300),                                               class_mode="binary",                                             seed=42)
We will also be re-scaling the images so that they can be easily understood by the ANN.
We will be training a convolutional neural network based on the VGNET architecture.
model_1  =  tf.keras.models.Sequential([
tf.keras.layers.Conv2D(filters=10,
 kernel_size=3,  activation="relu",
   input_shape=(300,  300,  3)),
tf.keras.layers.Conv2D(10,  3,  activation="relu"),
tf.keras.layers.MaxPool2D(pool_size=2,  padding="valid"),
tf.keras.layers.Conv2D(10,  3,  activation="relu"),
tf.keras.layers.Conv2D(10,  3,  activation="relu"),
tf.keras.layers.MaxPool2D(2),
tf.keras.layers.Flatten(),
tf.keras.layers.Dense(1,  activation="sigmoid")
])
model_1.compile(loss="binary_crossentropy",
  optimizer=tf.keras.optimizers.Adam(),
    metrics=["accuracy"])

history_1  =  model_1.fit(train_data,
  epochs=5,  steps_per_epoch=len(train_data),
    validation_data=valid_data,
     validation_steps=len(valid_data))
The model has decent performance as follows.
I have tried other methods such as image augmentation but the results weren’t that great. You can check out the code here. Lemme know if you can improve it further.
#converting our model into a tflite model
converter = tf.lite.TFLiteConverter.from_saved_model('model')
tflite_model = converter.convert()

#saving the tf lite model
with  open('model.tflite',  'wb')  as  f:
      f.write(tflite_model)
We can run this tf-lite model on a raspberry pi-4. I have timed the execution of each query to be around 13.1 µs.
I have used the Edge-electronics webcam tf-lite project as a base template and then modified and added code to better fit my model. You can simple download the code from here. I don’t have a raspberry pi at hand therefore couldn’t really verify it.
Please feel free to give me feedback and with that peace out.
explaining the project that won runner up Computer Vision award.
Story of how I achieved to win an award at this Hackathon.
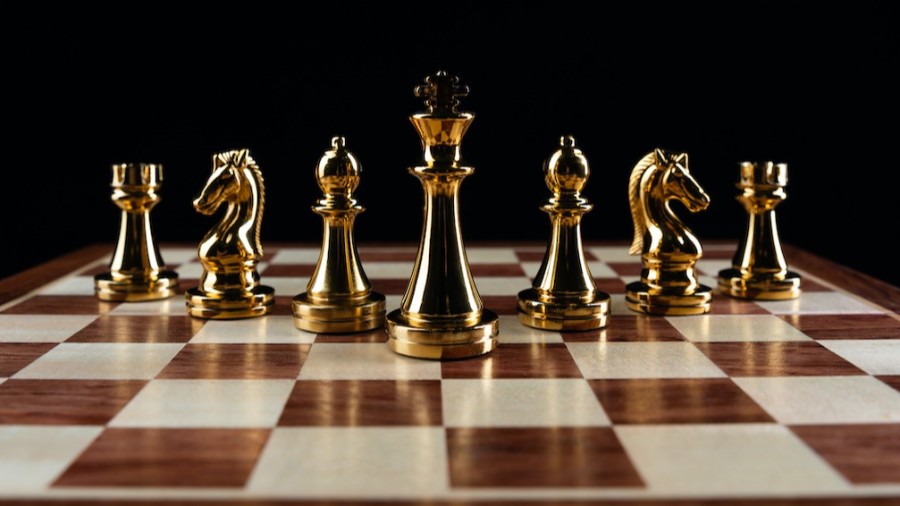
Using the power of deep learning and Stockfish to train a neural network to play the game of chess.
